Following is a step by step, picture tutorial of how to make these. Please note, I've never made bath bombs before so even though I'm an experienced bath and body maker, this process was completely new to me. My point? You don't need to have experience in order to do this!
Here's what the kit comes with:
2 bags of dry ingredients (marked "1" and "3")
1 bottle wet ingredients (marked "2")
1 bottle fragrance oil (fragrance specified upon ordering)
1 bag fair-trade unrefined cocoa butter
1 pipette
1 60mm round bath bomb mold
1 80mm round bath bomb mold
You will also need:
1 large glass bowl
1 small glass bowl
whisk or other stirring implement
gloves (recommended)
eye protection (recommended)

Let's begin!
Step 1:
Add contents of bag "1" to a glass bowl. I used a large Pyrex measuring cup for this.

Step 2:
If you decided to grate the cocoa butter, add it to the large bowl with the dry ingredients. (You can either grate the cocoa butter or melt it. I chose to melt it so you'll see me add it later)
Step 3:
Add any other dry ingredients such as micas, flower petals, dried spices, etc. I added some purple amethyst mica:

Step 4:
Mix dry ingredients until well incorporated.
Step 5:
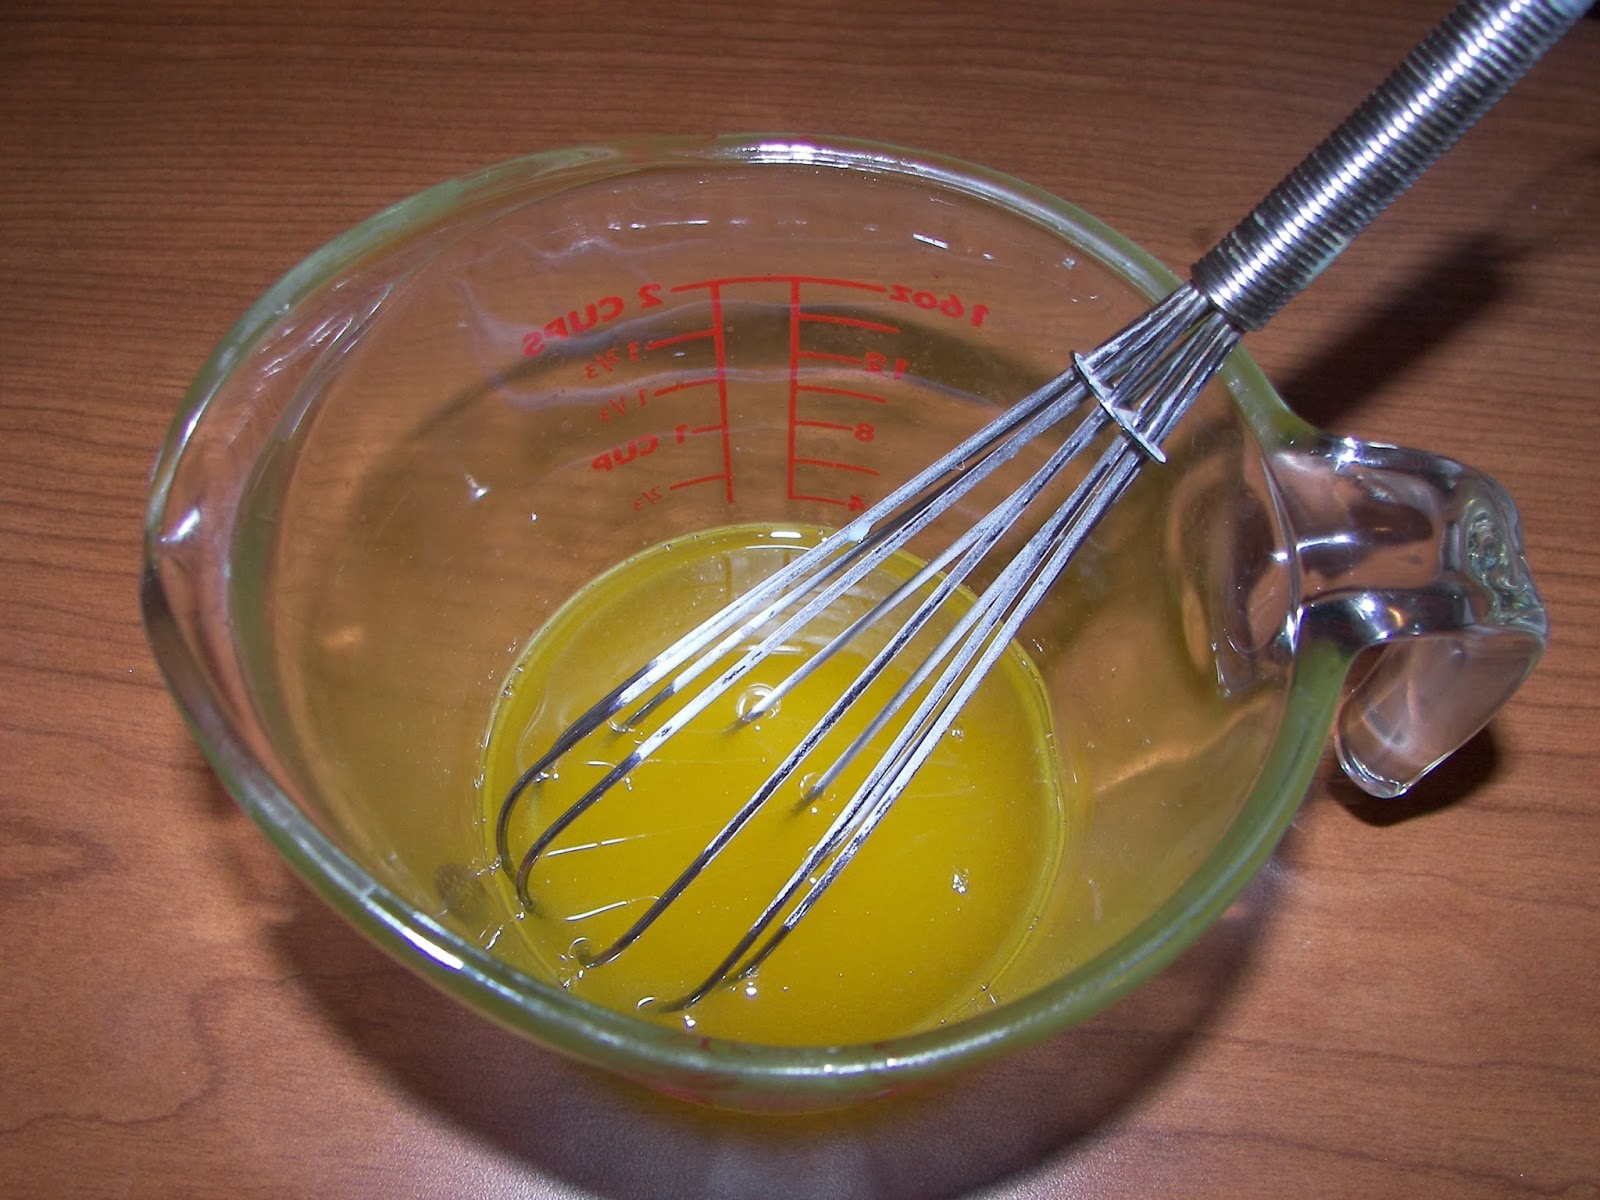
Pour half the liquid (or 1oz by weight) of bottle "2" into a small bowl.

Step 6:
Add desired amount of fragrance to the liquid. (I used .5oz)
Step 7:
If you're using a liquid colorant, or if you melted the cocoa butter, add it now. Here's a pic of my pre-melted cocoa butter:

Step 8:
Mix the liquids.
Step 9:
Mix the wet ingredients into the dry ingredients. Add slowly in small amounts and incorporate thoroughly. You should have a barely damp consistency after adding. (I recommend using a spoon instead of a whisk for this part. My mixture kept clumping in the whisk so a spoon made it a lot easier)

Step 10:
Add the ingredients from bag "3". You may need to sift the clumps out. Add slowly and mix thoroughly.
You can see there were some clumps in mine so I just broke them up with my fingers.

At this point, you want to get the consistency to exactly where you want it. It should clump and hold when pressed but not be too wet or show signs of reactivity (fizzing or expansion). If too dry, add drops of liquid from bottle "2" with the pipette.
Mine was perfect without needing any extra liquid!

Step 12:
Pack into the molds and gently release them and place on a tray to dry. With the round molds, it is suggested to pack each hemisphere tightly then dump a generous amount in the middle and press together.

A picture of a filled mold:

This is a picture of the smaller mold. For some reason, this one didn't want to cooperate with me so I dumped it out and proceeded with the larger mold instead. The large one didn't give me any problems.
Let the bath bombs dry fully (2-3 days) and store in an airtight container.
My finished bath bombs. Obviously, practice makes perfect. My third one (top right) looks the best out of them all.

I was able to get 3 large and half a small bath bomb out of this kit. The large bombs weigh between 8-10oz each.
Now for the fun part! Testing!
The bath bombs developed some cracks during their 3 days of drying but they were solid as a rock. They also lost some weight, which I expected due to the moisture drying out of them.
Here's a pic of the bath bomb in the tub:

Here's a video of the bath bomb in action. Listen to that fizz!
Are you ready to buy a kit yet?
Here's where you can get them:
www.SaharasSupplies.etsy.com
www.supplyemporium.com
And be sure to follow them on Facebook:
www.facebook.com/SaharasSupplies?ref=hl
www.facebook.com/SupplyEmporium?ref=hl
If you make these, be sure to come back and leave a comment!
No comments:
Post a Comment